The following steps will setup Windows Server 2012 R2 RADIUS authentication via Network Policy Server (NPS) with your Ubiquiti UniFi Security Gateway (USG) for a USG Remote User VPN. This will allow users to use their current Active Directory Domain Services (AD DS) credentials to authenticate to the Virtual Private Network (VPN).
I am using the UniFi controller version 5.4.14 hosted in Microsoft Azure on a Linux Server with PostFix for alerting.
Step 1: Configure Windows NPS Server
- From the Server Manager Dashboard, install the Network Policy and Access Server role using Add Roles and Features accepting all defaults.
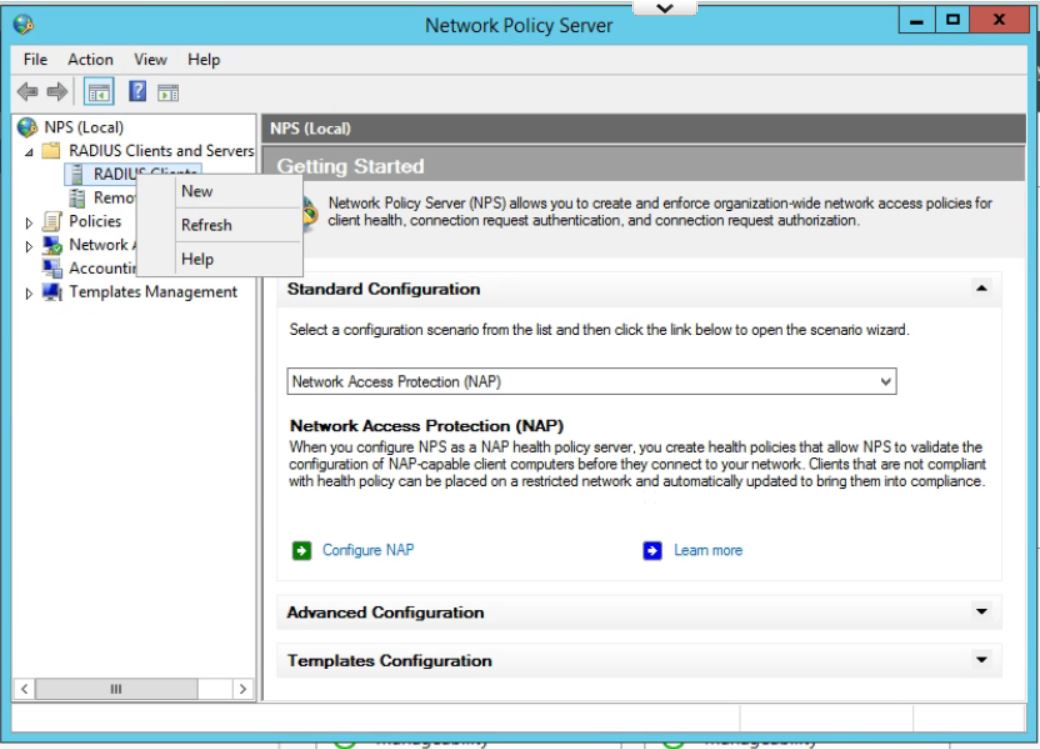
- Once installed, open the Network Policy Server Administrator Tool. Expand the RADIUS Clients and Servers, then right Click on RADIUS Clients and click New.
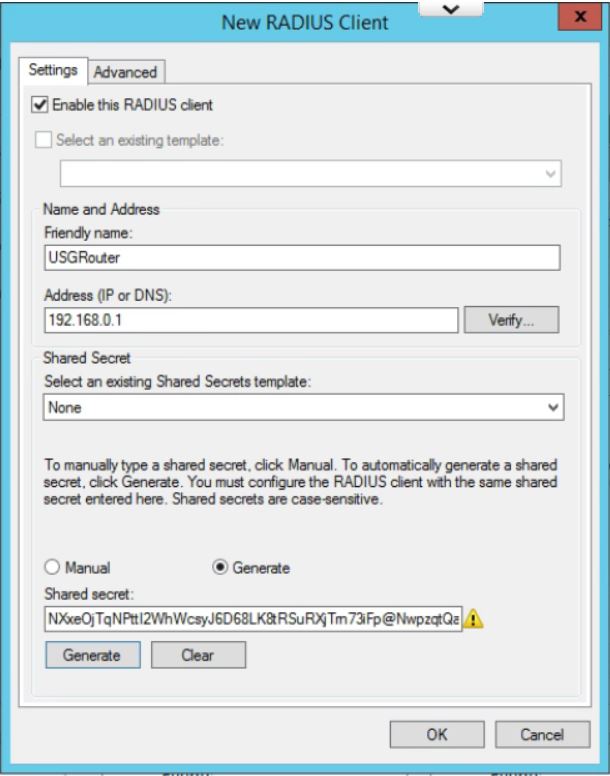
- Give the USG router a Friendly Name. Type in the IP Address of the inside interface of the USG on the same network as the Windows Server. (This is the IP that the RADIUS requests will come from.) Click the Generate radio button, then click the generate button. Copy this Shared Secret to be pasted later. Click OK.
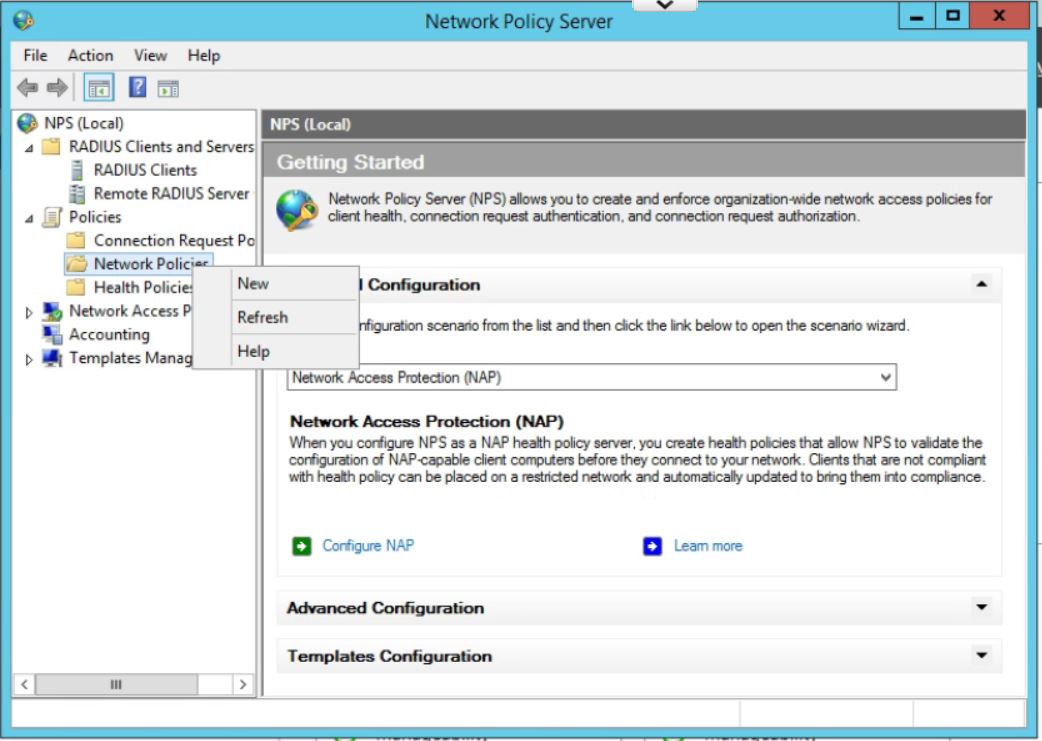
- In the Network Policy Server window, expand Policies, right click on Network Policies, and then click New.
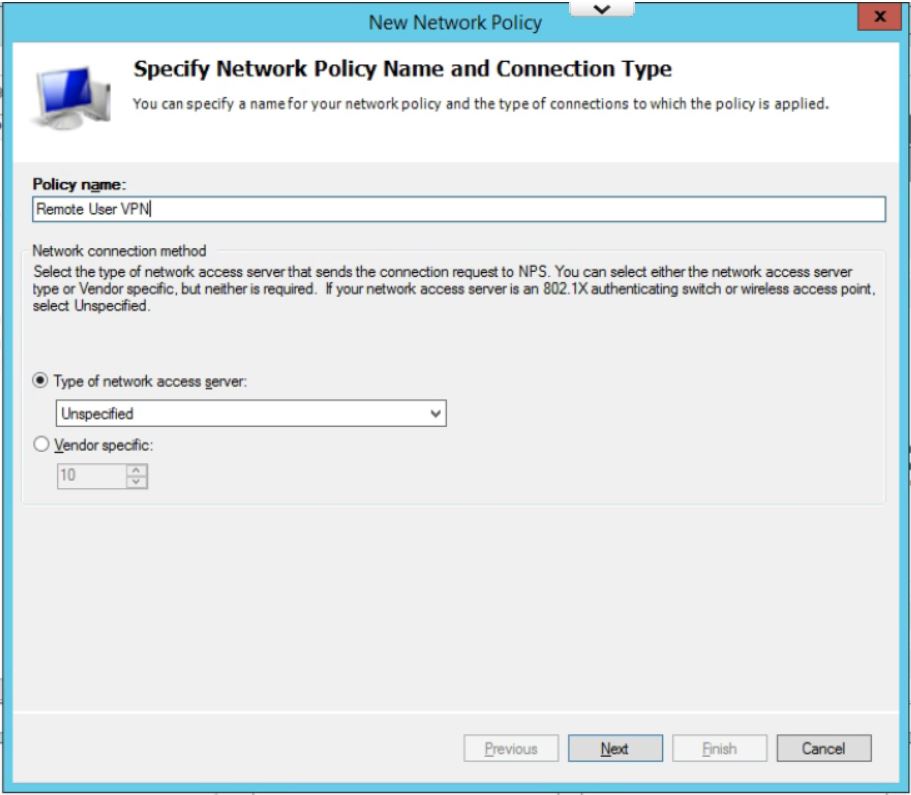
- Enter a policy name and leave Type of Network Access Server as Unspecified. Click on Next.
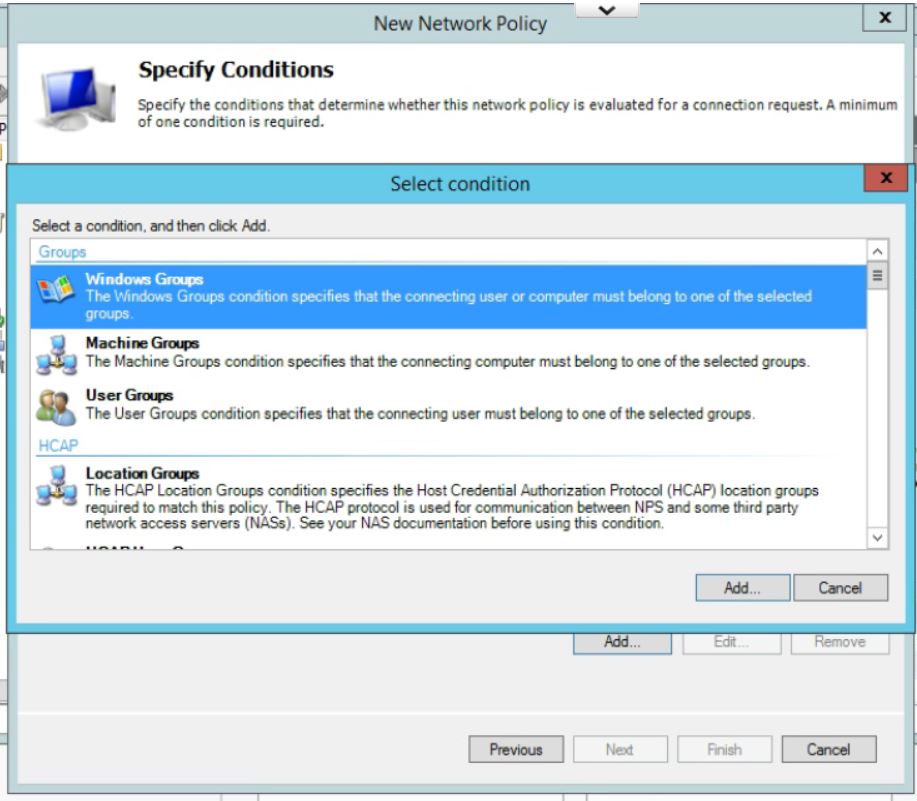
- In Specify Conditions click Add.. and then select Windows Group, and pick the AD Group you want to use to allow VPN access. (If you have not already then you will need to add all users who will be accessing the VPN into a seperate group.) Click Add… then Add Groups… which brings up the typical AD search box. Type in the name of the VPN Windows Group and click on OK. Click OK again. Click on Next
- Leave the Specify Access Permissions at the defaults (Access Granted, Dial-in box unchecked). Click Next.
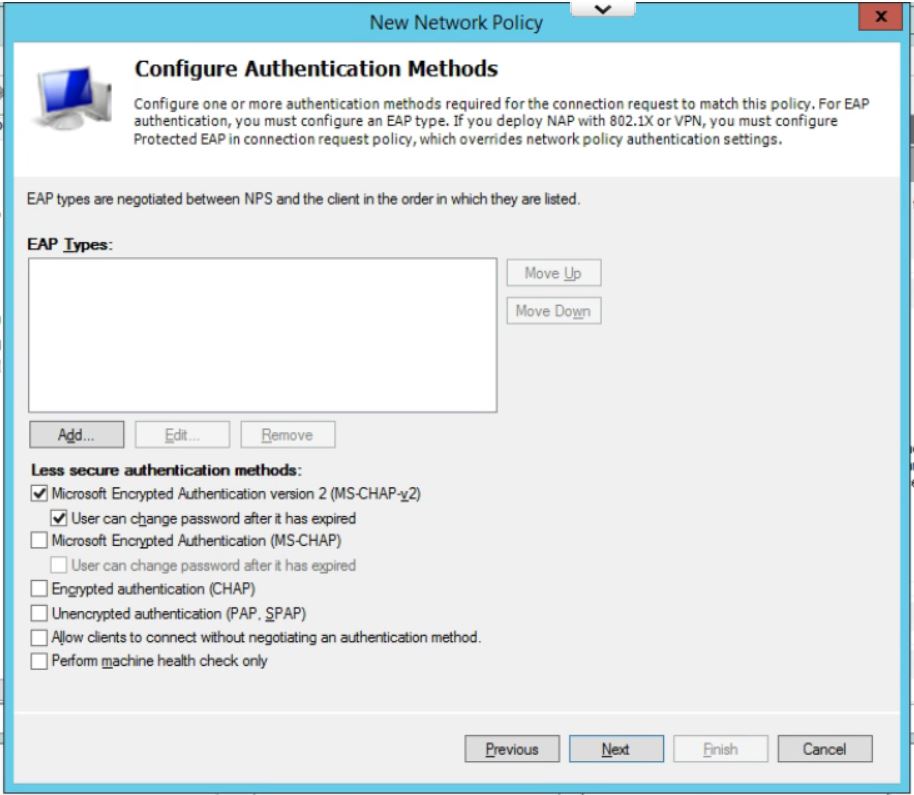
- Uncheck all authentication methods other than MS-CHAPv2. Click on Next.
- Accept the defaults under Configure Constraints. Click Next.
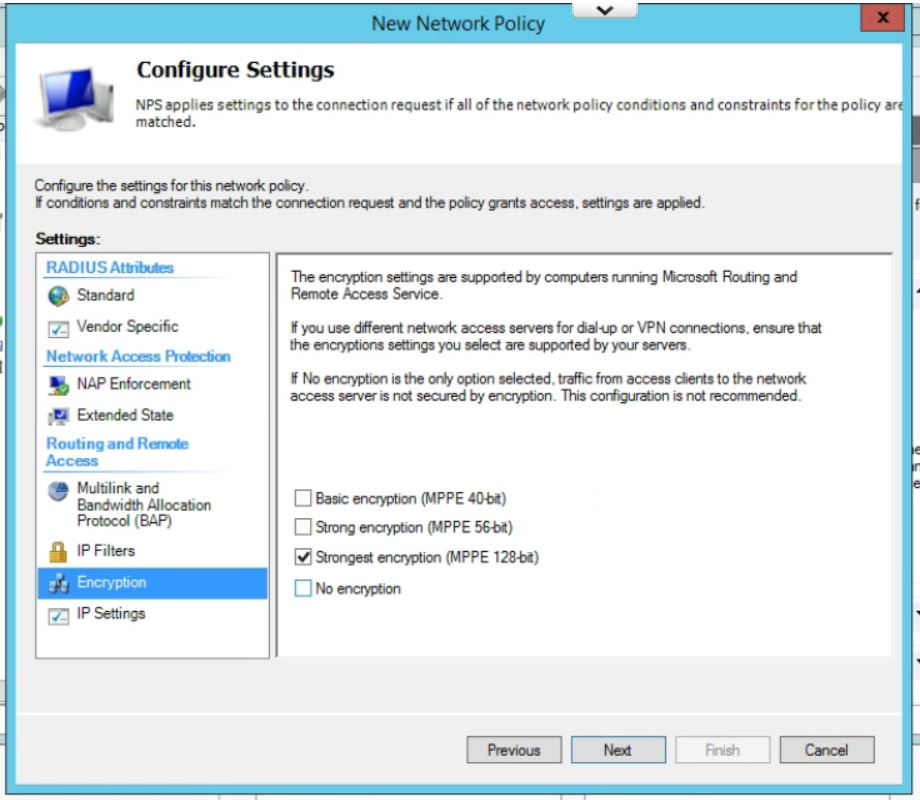
- Leave all setting at the default on this page except for under Encryption. Uncheck everything except for MPPE 128-bit. Click Next.
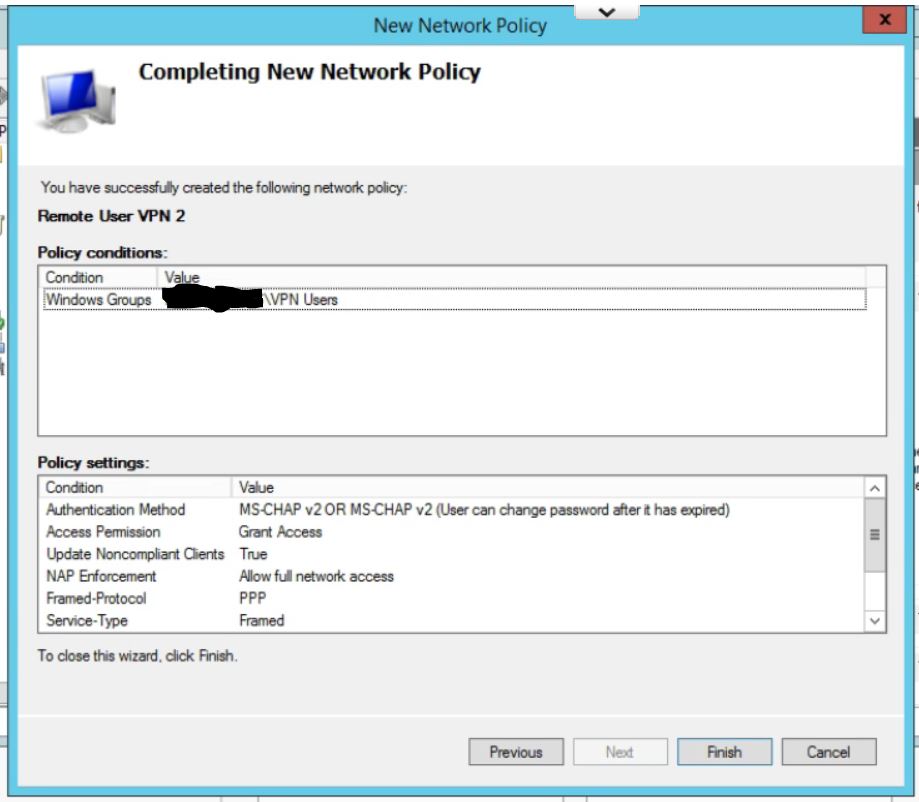
- Check your settings on the last page. Click Finish.
- Finally, move the new policy above the two default policies in the list by right clicking and choosing Move Up.
Step 2: Configure the USG Remote User VPN
- To create the remote access network, in the UniFi controller, go to Settings, then Networks, and click Create New Network, give the network a name and select Remote User VPN.
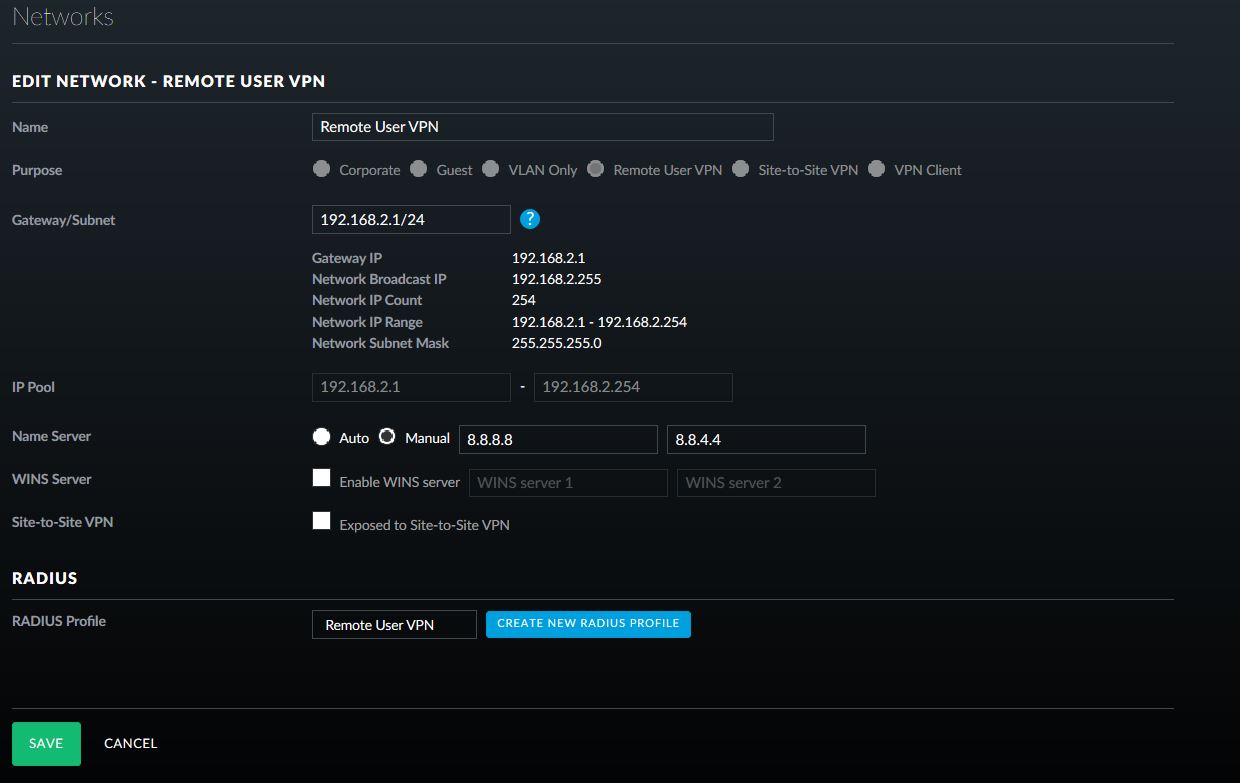
- Fill in the appropriate Gateway/Subnet information for your environment. Make sure it is not the same as any of your current networks.
- Add Manual DNS servers, if required for your environment.
- Click on Create New RADIUS Profile.
- Give the Profile a name, enter in the IP address of the Windows Server 2012 R2 server that will be used for RADIUS authentication and paste in the generated shared secret.
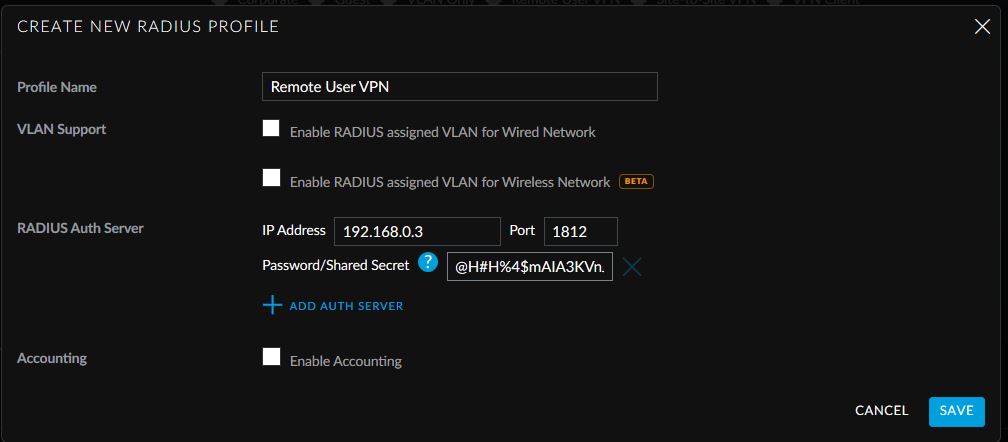
- Click Save. Click on Save again.
This allows easy access from Windows default VPN connections to network assets behind the USG device.

