Introduction
I have a need to put a router between my test ESXi 5.0 server and my network. At home, I use a Linksys E3000 (both 2.4Ghz & 5Ghz Wireless-N, gigabit) router, with OpenSource DD-WRT custom firmware. There is a x86 variant that can be downloaded, people mention in the forums about using it on old PCs, I thought I would give making a VM a go.
Pre-Requisites
- An installed copy of ESXi 5.0 (this is almost certain to work on 4.0, but not 3.5)
- The DD-WRT x86 Image. I chose the VGA public image. This is a free version, limited to 4096 connections (fine for my purposes) and without Wi-Fi support. The image that is used is here.
- physdiskwrite – A Windows tool for writing raw images to a hard disk.
- An existing Windows image.
InstallationCreating the Virtual Machine
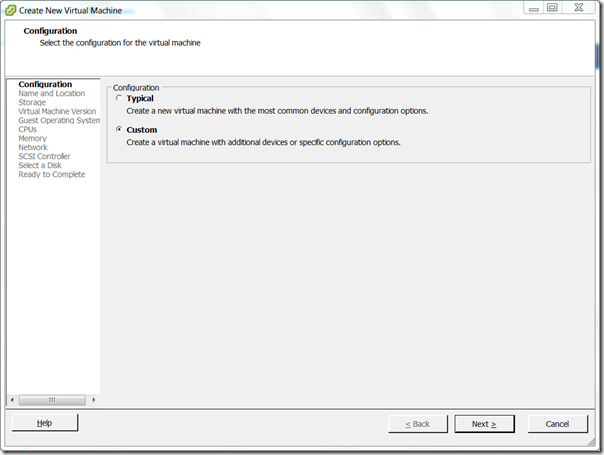
- Create a virtual Machine. Select a configuration type of Custom.
- Name the VM something appropriate.
- Select a datastore for the Virtual Machine.
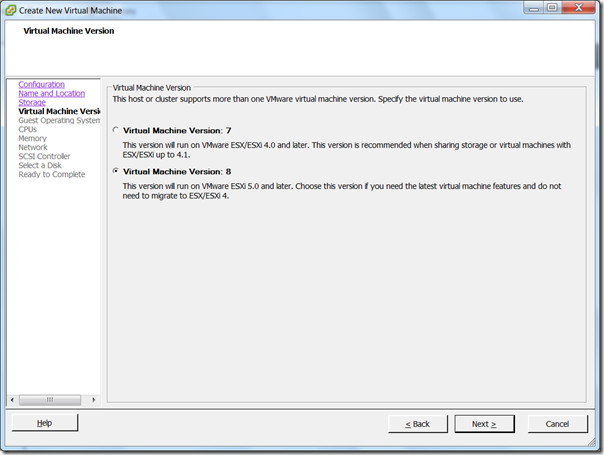
- Select ‘Virtual Machine Version: 8’ (if using ESXi 4.0, using version 7)
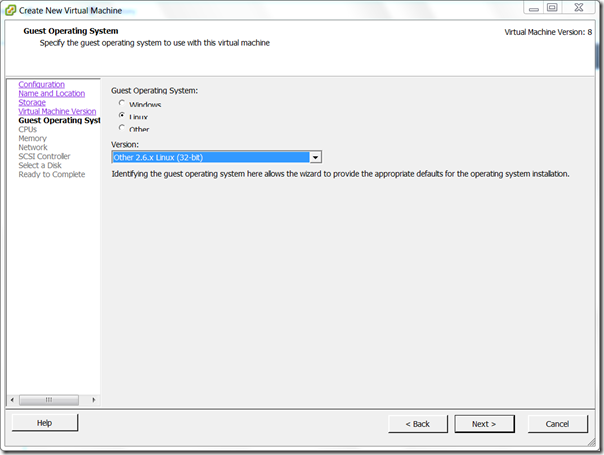
- For Guest Operating System type, choose ‘Linux’ and select ‘Other 2.6.x Linux (32-bit) from the drop down.
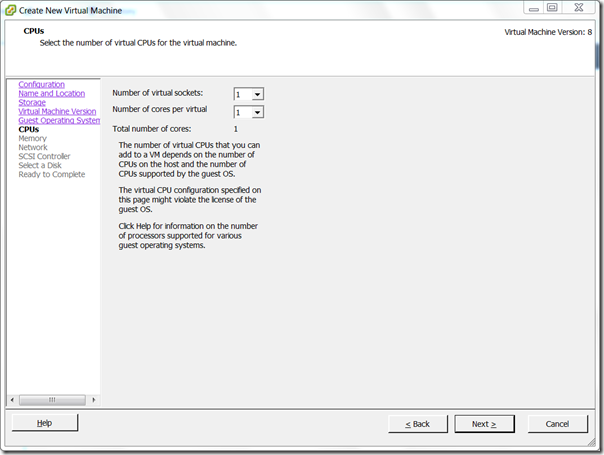
- Choose 1 virtual sockets, with one core per virtual socket.
- Choose 512MB RAM.

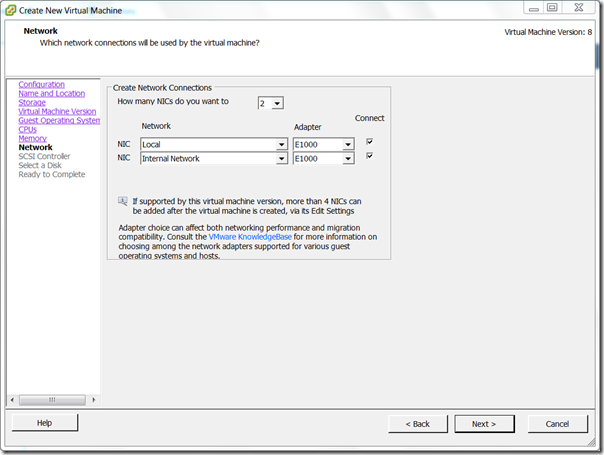
- Select the appropriate number of NICs (nearly always 2), E1000, and choose the port groups. (I have found that the first NIC is assigned to the WAN)
- SCSI Controller, choose any. This will be replaced.
- Choose not to create a disk.
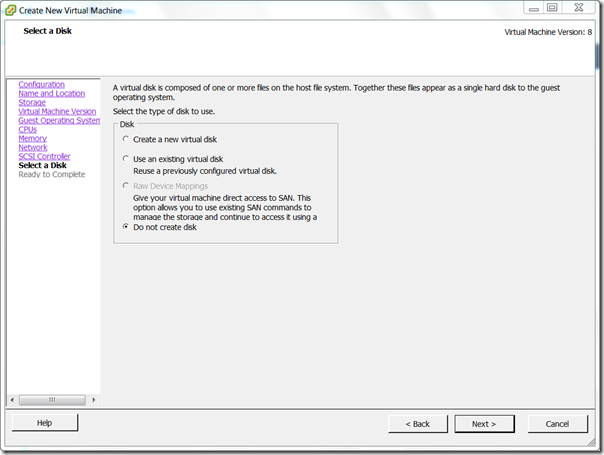
- Tick Edit the virtual machine settings before.
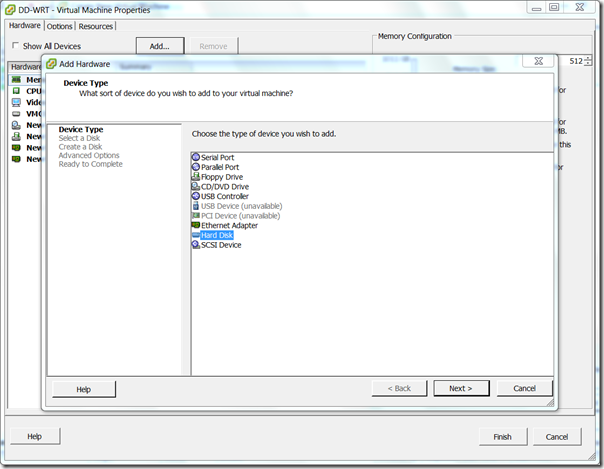
- In the Virtual Machine Properties, click Add. Select Hard Disk.
- Select ‘Create a new virtual disk’
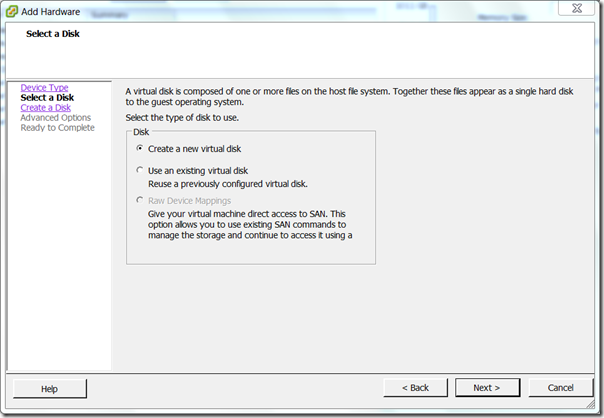
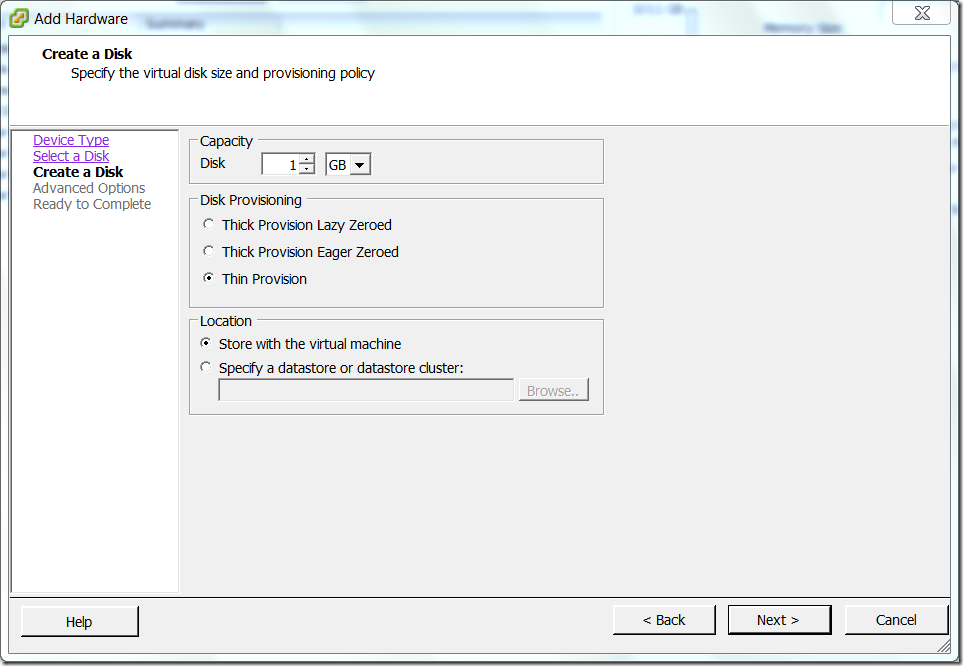
- Make the capacity of the disk 1GB. I chose to make it Thin Provisioned.
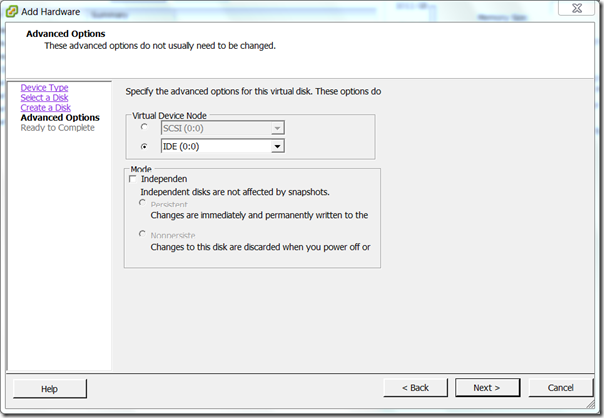
- Set the Virtual Device Node to IDE (0:0)
- Press OK, then Finish. Wait for the VM to be created.
Install the image to the Disk
- Choose your Windows VM. Power it off if necessary.
- Edit the Windows VM’s properties. Press Add.
- Select a Hard Disk.
- Choose ‘Use Existing Virtual Disk’
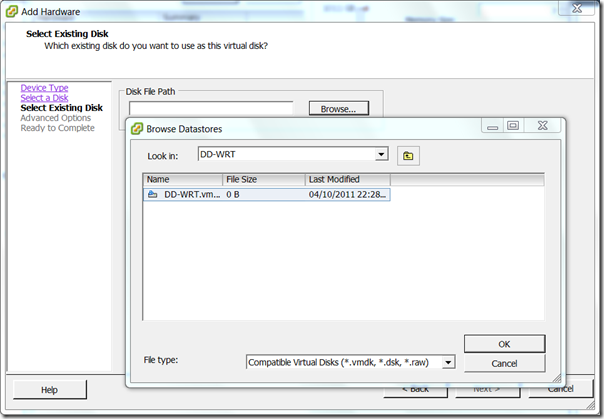
- In Advanced Options, ensure that the Virtual Device Node is ‘IDE (0:0)’
- Click OK, then Finish. Power on the Windows VM.
- Load PhysGUI (make sure you elevate it)
- Ensure that you select the ‘VMware Virtual IDE Hard Drive ATA Device’, right click select ‘Image laden’ –> ‘Öffinen’. Select the downloaded DD-WRT image.

- Click OK through the prompts.
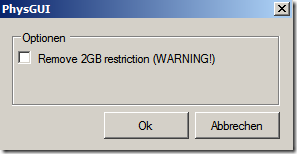
- Wait until the disk completes writing. Shut down the VM.
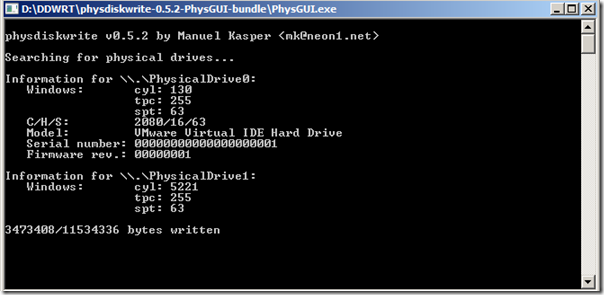
- Edit the Windows VM’s properties. Select the DD-WRT virtual disk and press remove. Ensure ‘Remove from virtual machine’ is selected. Click OK.
- Start up the DD-WRT VM.
Connecting to the Router
- Load another VM on the same LAN as the router. Ensure that it is configured to automatically obtain an IP address.
- It should be assigned an IP by the DD-WRT router’s DHCP server service. You can see this by performing an ipconfig (if using a Windows client)
- Presuming that you have an IP address, use the web browse to connect to 192.168.1.1
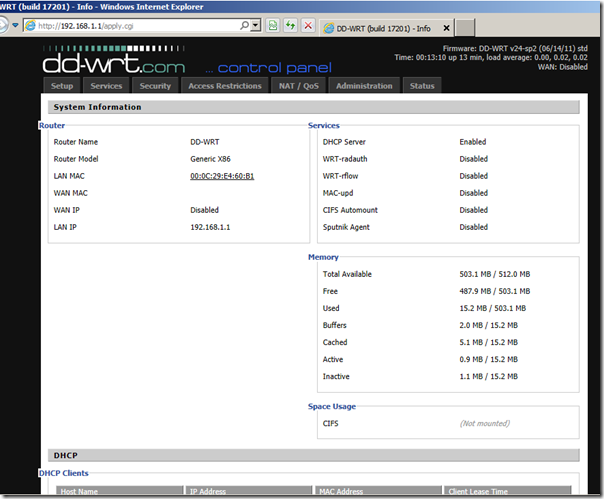
- It will ask to set the username and password. Note that if you SSH into the router at a later point, it will use the username ‘root’ with the password set here.
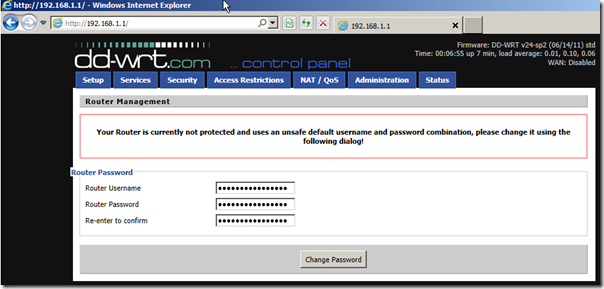
- You are presented with the DD-WRT System Information page. This will show the current hardware, configuration, DHCP client list, etc.
Wenn euch das zu viel arbeit ist könnt ihr auch hier die fertige VM herunterladen