In a previous post I blogged about creating a vanilla vSphere 5 ESXi USB drive using the VMware .iso file from VMware. This post shows how to create one using the HP version of vSphere ESXi (5.0_Oct_2011_ESXi_HD-USB-SDImgeInstlr_Z7550-00253.iso).
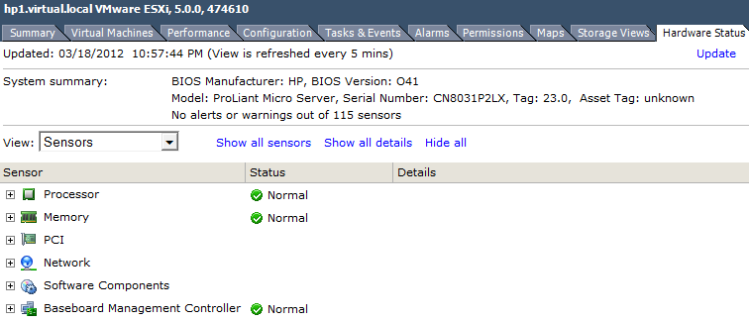
The HP version comes pre-installed with all the HP CIM providers which work very well with HP servers, including the HP MicroServer. Using the HP version gives you the more details in the Hardware Status tab.
I’m going to be using a different method, recommended by Will Rodbard (thanks Will), who is a colleague of mine at VMware, you can see his comments from the previous post. In summary the steps are:
- Find and download the following tools:
- Run the HPUSBFW tool, click on the USB drive, select ‘Fat32′ and click Format
- Run UNETBOOTIN, select Diskimage and browse to the ESXi 5 ISO file
- Select the USB drive you have just formatted and click OK
- If you want to make more USB keys for more servers, then now is the time to create .IMG files using WinImage, then you can basically clone the image of the USB key to more USB keys. Or if you don’t wish to use WinImage then just perform steps 1 to 4 again.
Once completed your USB drive will boot into the ESXi 5 installer. Once booted, install the ESXi 5 Hypervisor to the USB drive (overwriting the installer). This will then leave you with the installed ESXi Hypervisor on the USB.
Note that using this method creates a brand new bootable USB key for use in a new installation of vSphere ESXi. You will have to go through the process of installing ESXi onto the USB key, or another disk or LUN on the target server. If you want a USB key that is already installed with ESXi which saves you from going through the installation wizard, you can use the other method in this post.

Keine Kommentare:
Kommentar veröffentlichen