Step One
Connect a 8GB or larger USB key to your computer then launch the Mac App Store from your dock.

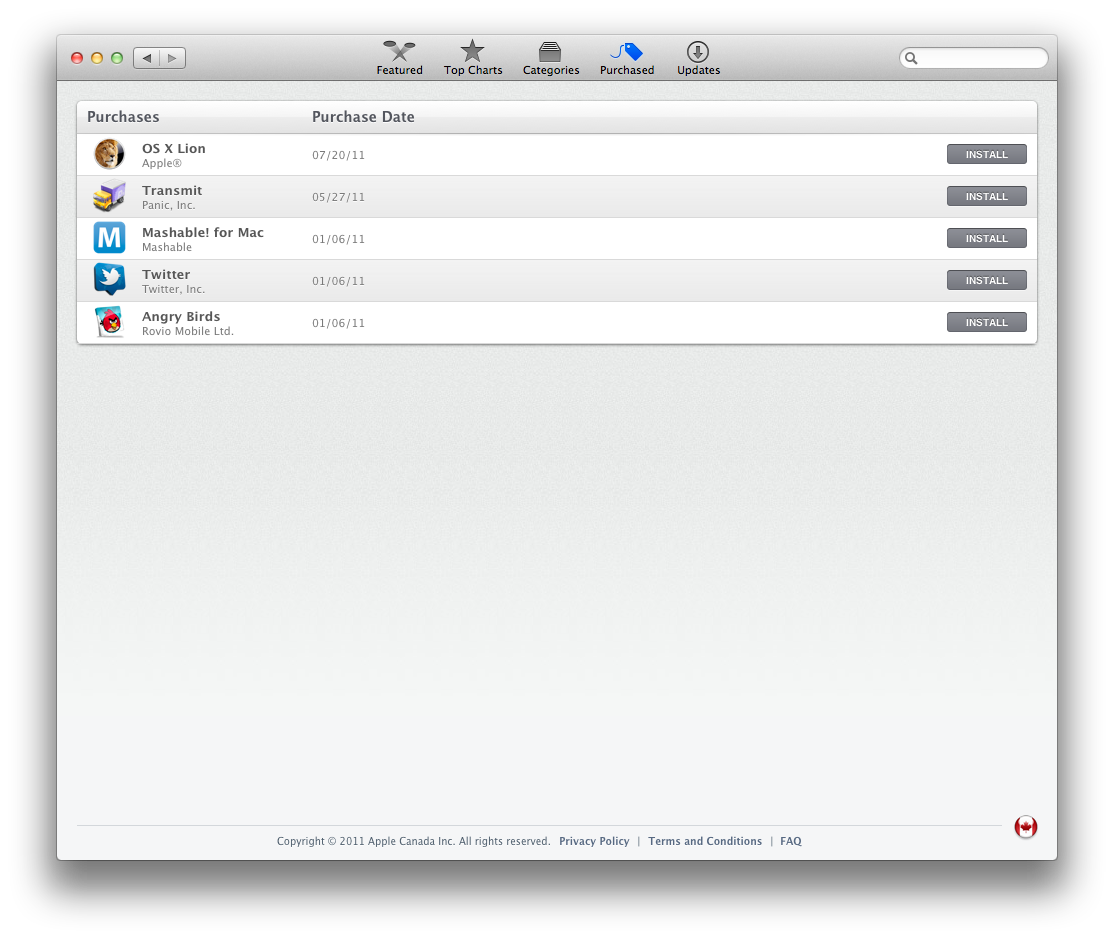
Step Two
Click the Purchased tab at top of the window the hold down the Option key and click the Purchased tab again.
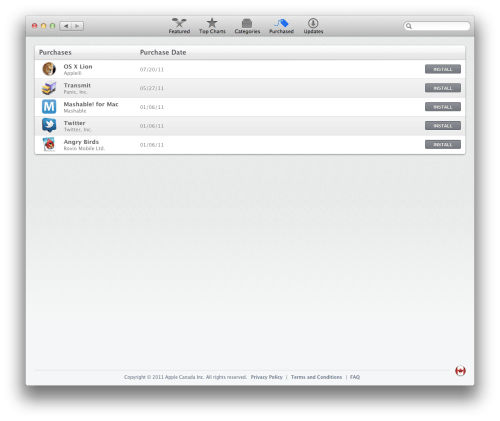
**If you have not yet installed Lion then you can follow these instructions to buy it and begin downloading.
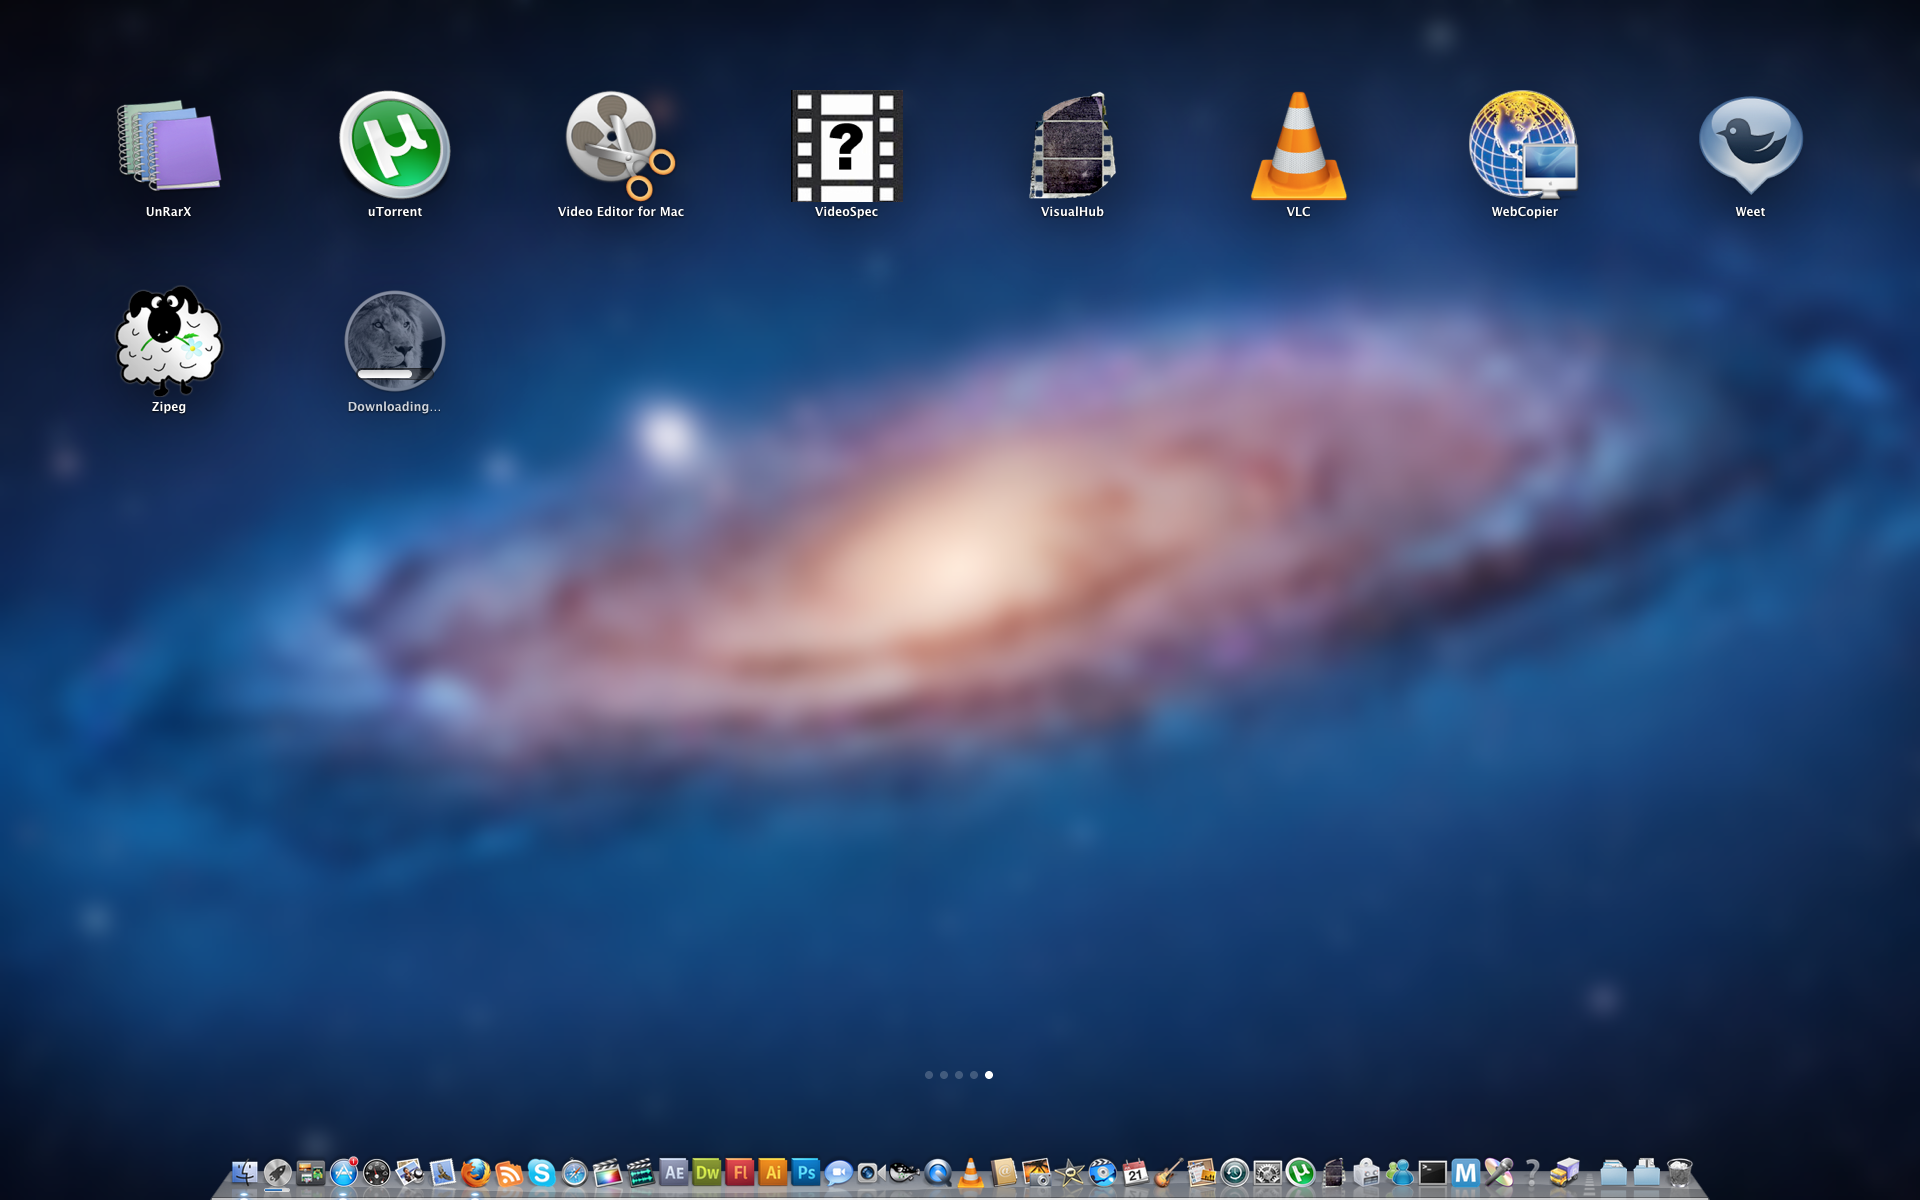
Step Three
Press the Install button for OS X Lion and wait while the operating system downloads. If the LaunchPad appears press the Escape key.


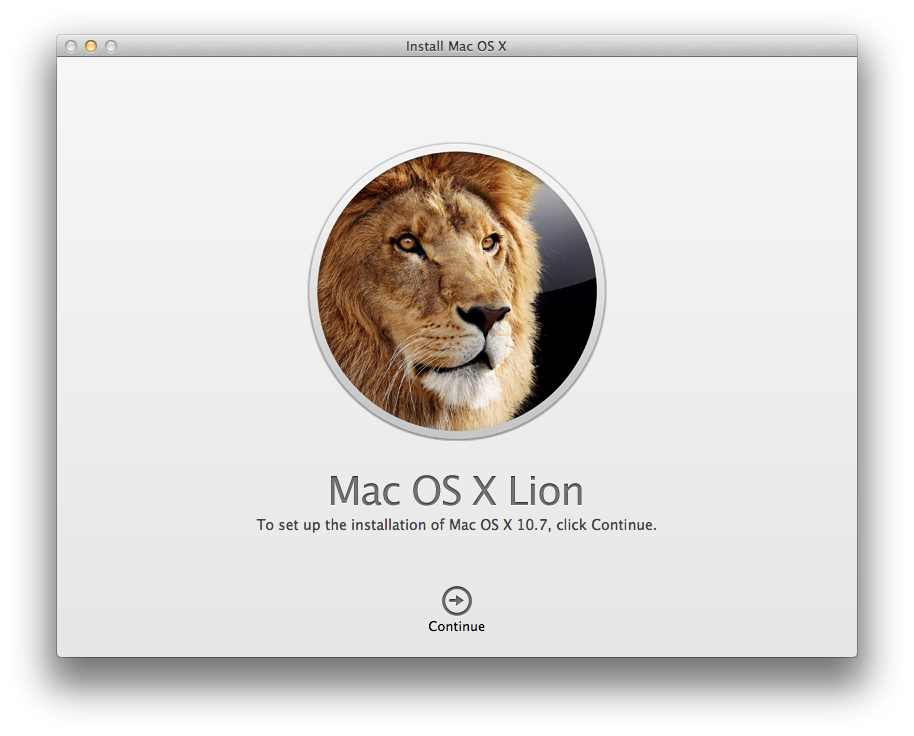
Step Four
Once the download has completed the Mac OS X Lion Installer will launch. Select Quit from the Install Mac OS X Lion to exit the installer.


Step Five
Click to launch a new Finder window from your dock.

Step Six
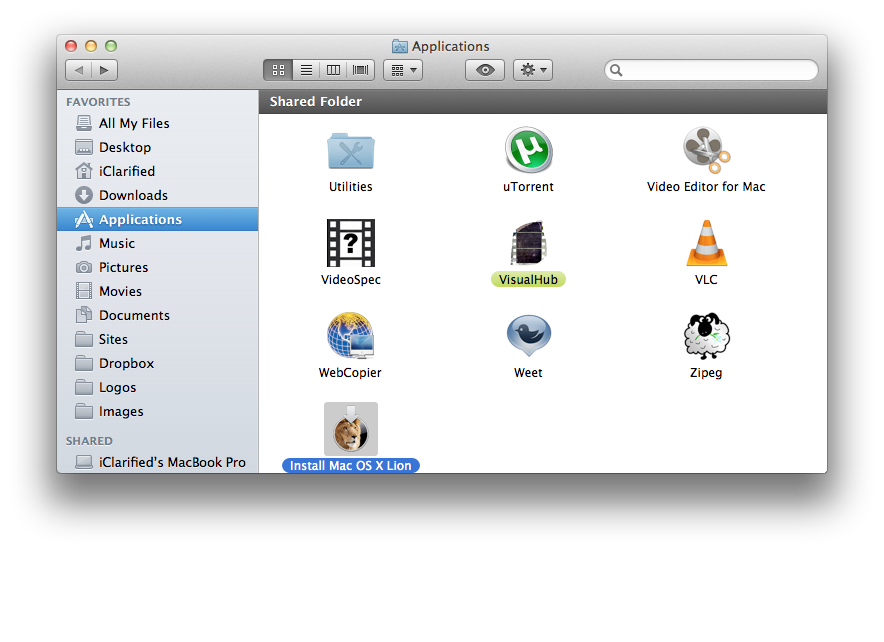
Navigate to the Applications folder and right click the new "Install Mac OS X Lion" icon then select Show Package Contents from the contextual menu.


Step Seven
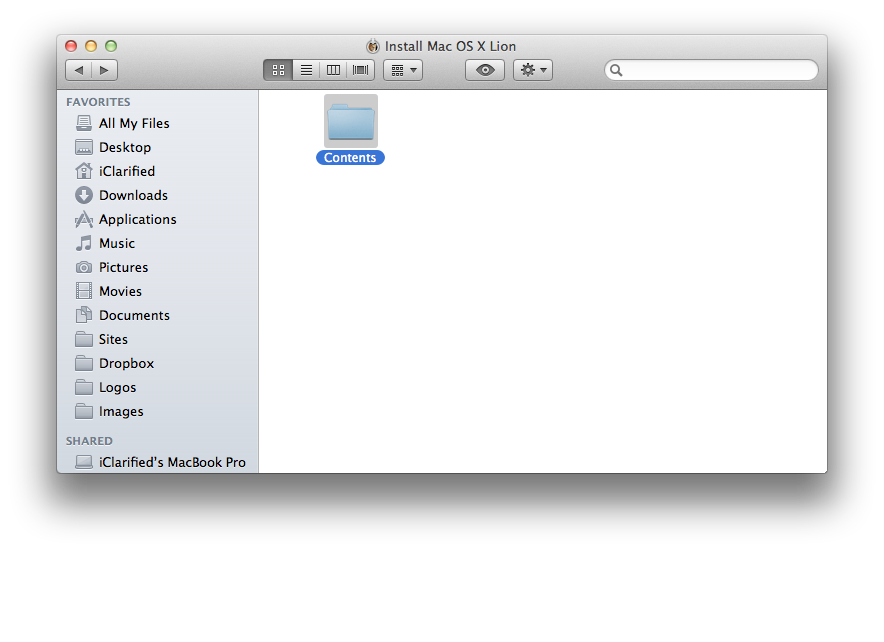
Double click the Contents folder.

Step Eight
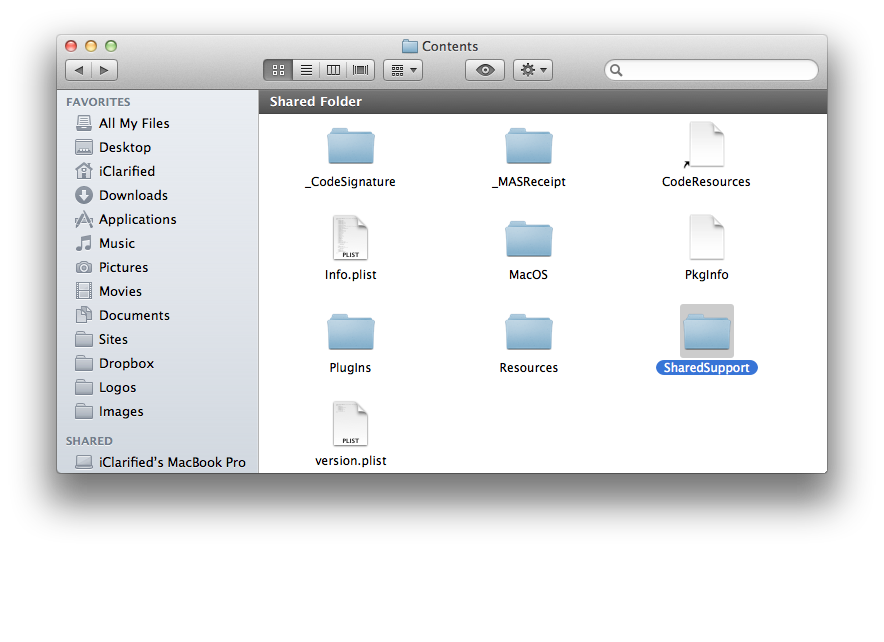
Then double click the SharedSupport folder

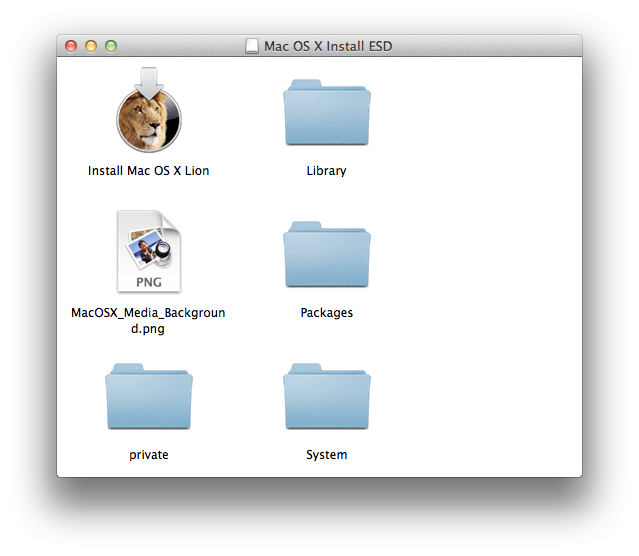
Step Nine
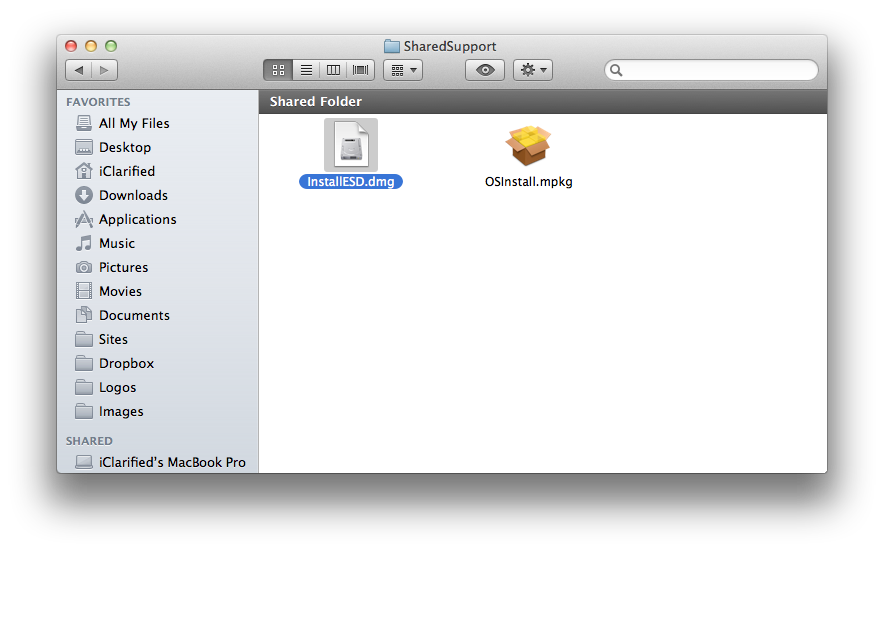
Locate the InstallESD.dmg file then open a new Finder window by pressing Command + N on your keyboard.

Step Ten
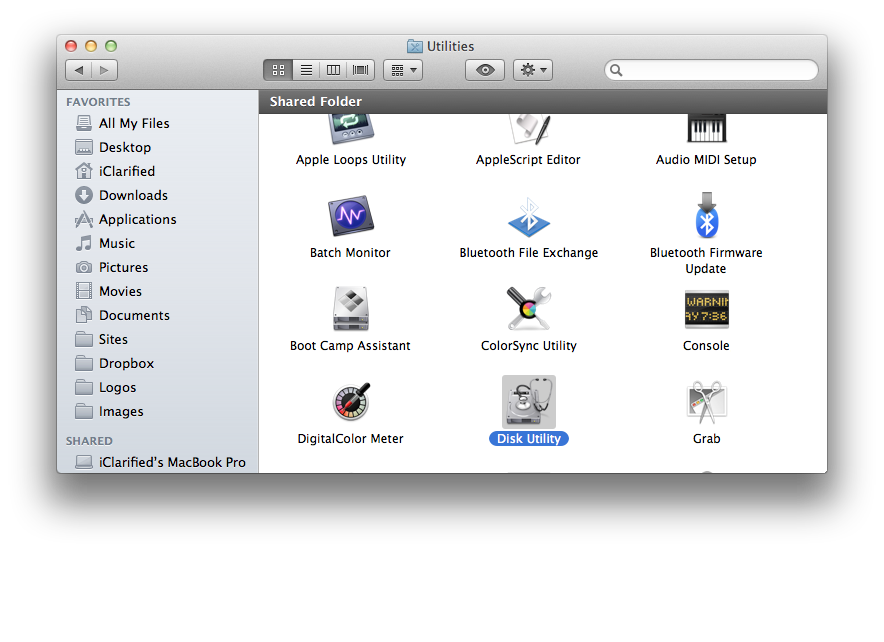
Navigate to your Applications:Utilities folder then double click Disk Utility to launch the application

Step Eleven
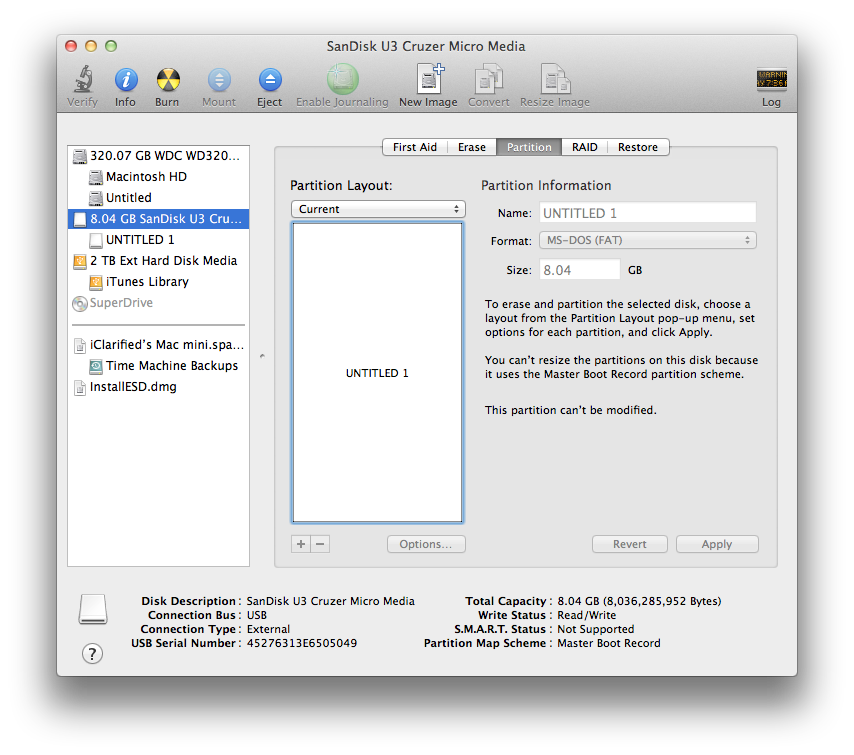
Select your USB thumb drive from the list on the left and click the Partition tab.

Step Twelve
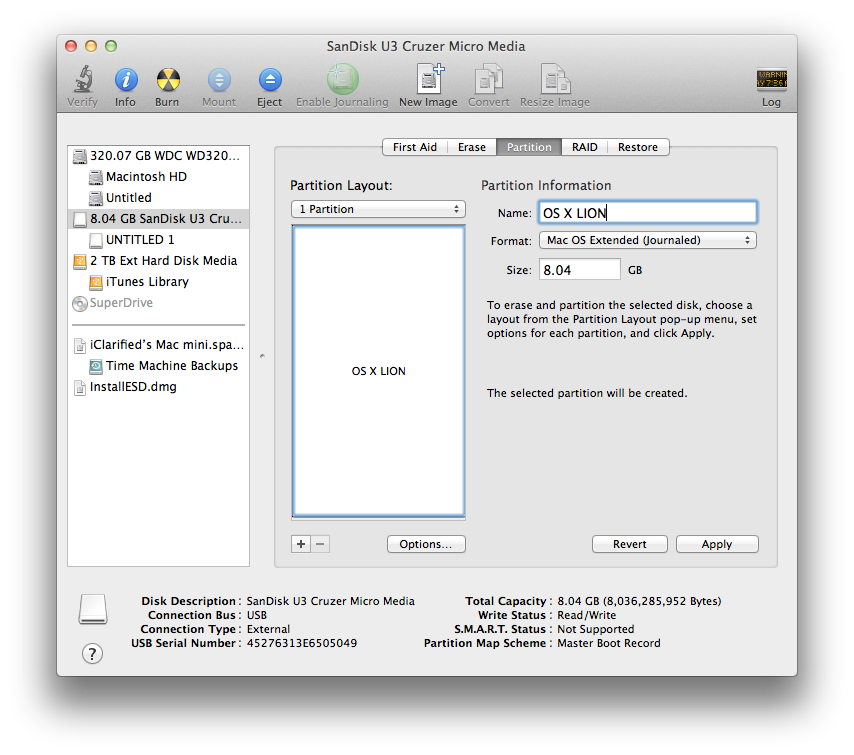
Set the Partition Layout to 1 Partition, set the Name to OS X Lion, and set the Format to Mac OS Extended (Journaled) and then click the Options button.

Step Thirteen
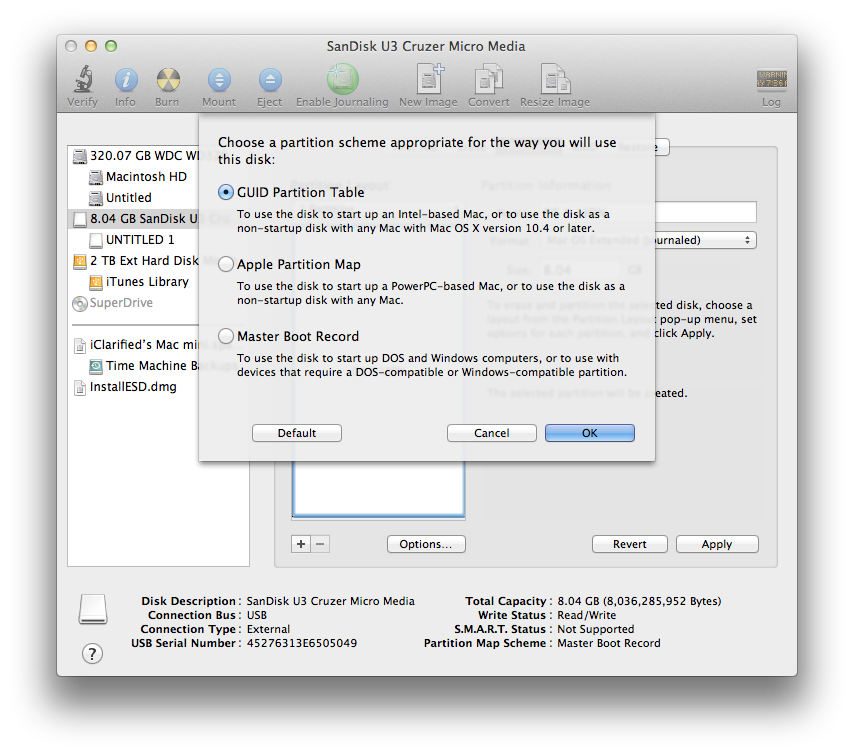
Choose GUID Partition Table from the popup window then click the OK button.

Step Fourteen
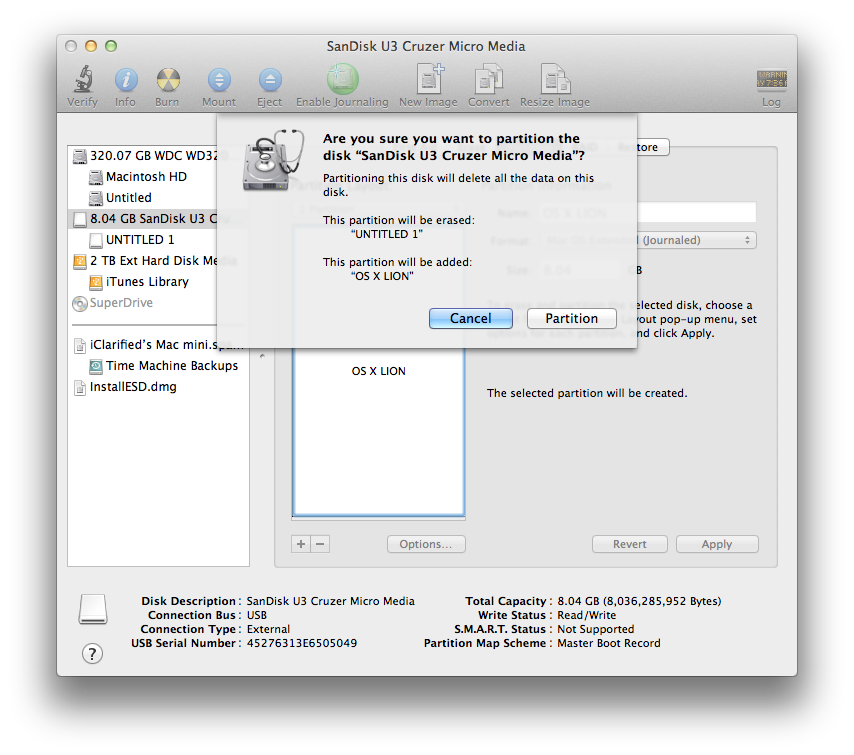
Next click the Apply button to save your changes.

When asked to confirm click the Partition button.

Step Fifteen
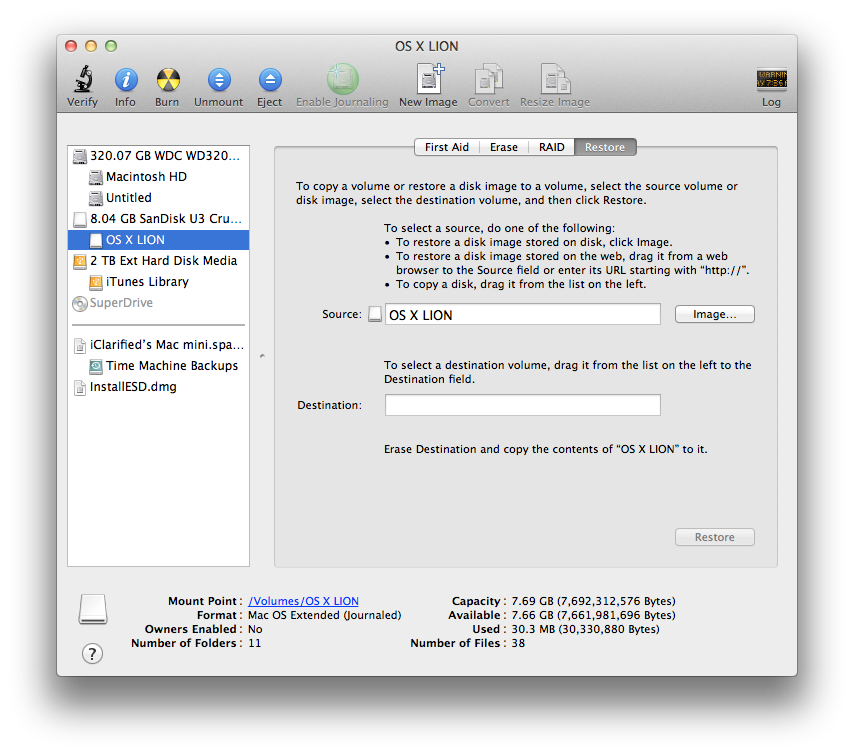
Once the USB drive has been partitioned correctly, select the new OS X Lion partition from the list on the left and click the Restore tab.

Step Sixteen
Drag the InstallESD.dmg file we located earlier from the Finder window into the Source field. Then drag theOS X Lion partition from the list on the left into the Destination field.

Step Seventeen
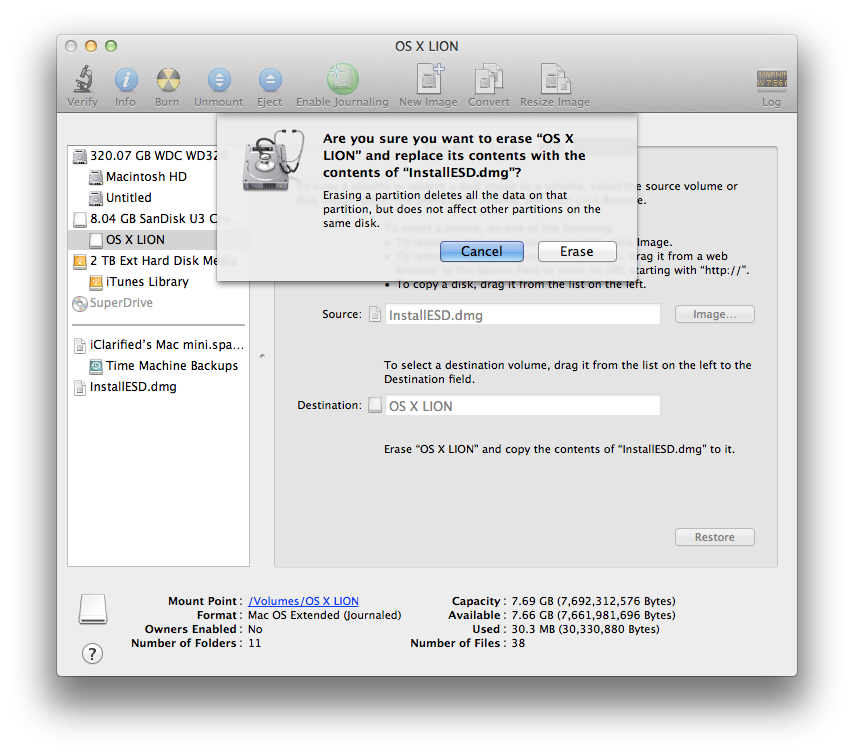
Click the Restore button then click the Erase button from the confirmation popup to begin building your install key.

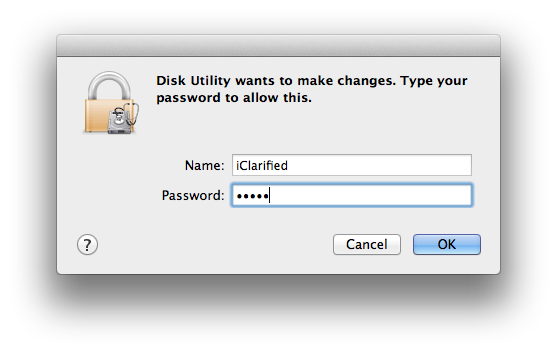
Another popup will appear asking you to log in. Enter your administrative username and password then clickOK.

Step Eighteen
When the restore is complete the Mac OS X Lion USB Install Key will be mounted and it will be ready to use.

Connect a 8GB or larger USB key to your computer then launch the Mac App Store from your dock.
Step Two
Click the Purchased tab at top of the window the hold down the Option key and click the Purchased tab again.
**If you have not yet installed Lion then you can follow these instructions to buy it and begin downloading.
Step Three
Press the Install button for OS X Lion and wait while the operating system downloads. If the LaunchPad appears press the Escape key.
Step Four
Once the download has completed the Mac OS X Lion Installer will launch. Select Quit from the Install Mac OS X Lion to exit the installer.
Step Five
Click to launch a new Finder window from your dock.
Step Six
Navigate to the Applications folder and right click the new "Install Mac OS X Lion" icon then select Show Package Contents from the contextual menu.
Step Seven
Double click the Contents folder.
Step Eight
Then double click the SharedSupport folder
Step Nine
Locate the InstallESD.dmg file then open a new Finder window by pressing Command + N on your keyboard.
Step Ten
Navigate to your Applications:Utilities folder then double click Disk Utility to launch the application
Step Eleven
Select your USB thumb drive from the list on the left and click the Partition tab.
Step Twelve
Set the Partition Layout to 1 Partition, set the Name to OS X Lion, and set the Format to Mac OS Extended (Journaled) and then click the Options button.
Step Thirteen
Choose GUID Partition Table from the popup window then click the OK button.
Step Fourteen
Next click the Apply button to save your changes.
When asked to confirm click the Partition button.
Step Fifteen
Once the USB drive has been partitioned correctly, select the new OS X Lion partition from the list on the left and click the Restore tab.
Step Sixteen
Drag the InstallESD.dmg file we located earlier from the Finder window into the Source field. Then drag theOS X Lion partition from the list on the left into the Destination field.

Step Seventeen
Click the Restore button then click the Erase button from the confirmation popup to begin building your install key.
Another popup will appear asking you to log in. Enter your administrative username and password then clickOK.
Step Eighteen
When the restore is complete the Mac OS X Lion USB Install Key will be mounted and it will be ready to use.

Keine Kommentare:
Kommentar veröffentlichen